Ever marveled at a perfectly stitched logo on a cap or a detailed portrait on a quilt and wondered how it got there? The magic happens long before the needle touches fabric—it’s all in the digitizing. This behind-the-scenes process turns your artwork into a precise roadmap of stitches, colors, and paths your embroidery machine follows flawlessly. Whether you’re a business owner branding merch or a crafter making gifts, understanding this step unlocks pro-level results. Let’s pull back the curtain on the art and science of
custom embroidery digitizing.
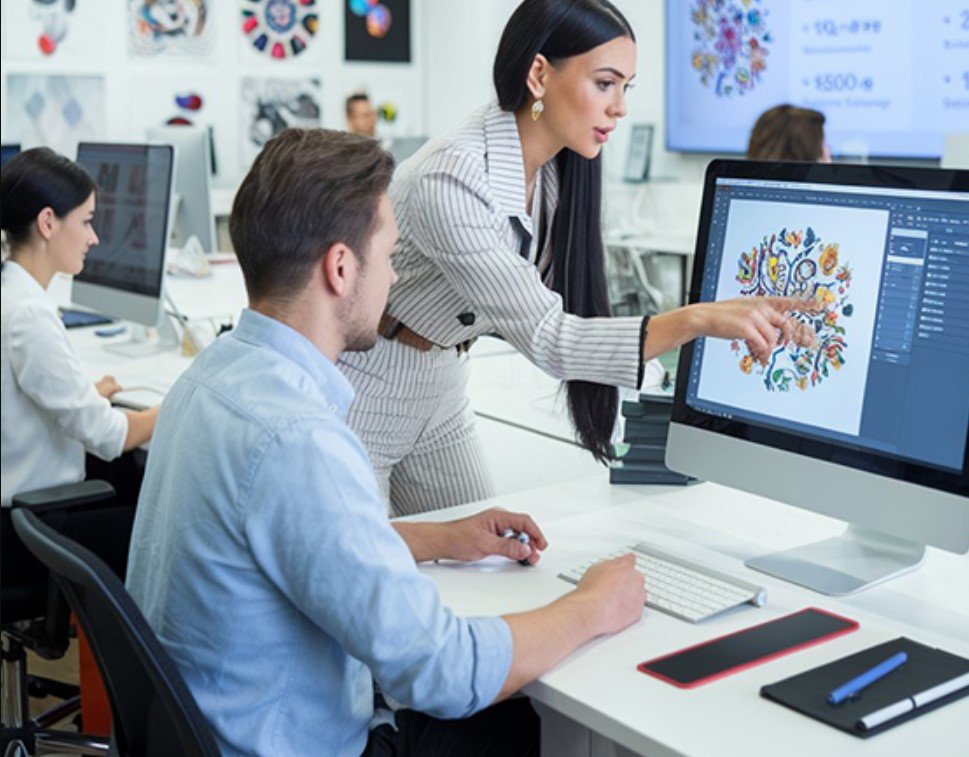
What Is Custom Embroidery Digitizing?
Custom embroidery digitizing is the craft of converting your image—logo, photo, or sketch—into a digital stitch file like PES, JEF, or HUS that your machine can read. Think of it as translating a picture into instructions: where to stitch, what type (satin, fill, running), and when to change threads.
It’s not just a click-and-go conversion. Digitizers use software to map every detail, adjust for fabric stretch, and optimize density to prevent puckering or gaps. This tailored file ensures your design stitches cleanly, vibrantly, and durably, no matter the material.
Why Digitizing Is the Heart of Great Embroidery
Without proper digitizing, even the best machine produces messy results. A poor file causes thread breaks, distorted shapes, or fabric damage. Pros prevent these issues by fine-tuning settings for your specific setup—machine model, hoop size, and fabric type.
For businesses, this means consistent branding across products like uniforms or bags. Hobbyists get to stitch personal touches, like a pet’s face on a tote, with confidence. Digitizing also saves time and money—you create unlimited custom designs without relying on pricey pre-made files.
The result? Embroidery that looks professional, lasts longer, and turns heads.
Tools That Power the Digitizing Magic
Digitizers rely on specialized software to craft perfect files. Wilcom Hatch and EmbroideryStudio are industry gold standards, offering precise control over stitch angles, density, and underlay. Embrilliance StitchArtist is a favorite for its user-friendly interface, ideal for custom logos or photos.
Budget options like SewArt or free tools like Ink/Stitch (an Inkscape plugin) work well for simpler designs. All let you import images, trace shapes, assign stitches, and export in your machine’s format.
A powerful computer runs the software smoothly. A scanner or camera captures physical artwork if needed. Pros also use thread charts from brands like Madeira or Isacord to match colors accurately, ensuring vibrant, realistic results.
Step-by-Step: How Digitizers Create Your File
Here’s the inside scoop on turning your image into a stitch-ready file.
- Receive your artwork
You send a high-res image (300 DPI or better) with details: machine type (Brother, Janome), hoop size (4×4, 5×7 inches), fabric (cotton, fleece), and color preferences.
- Import and prep
The digitizer loads your image into software. They crop, boost contrast, and simplify colors to 8-12 shades for manageable thread changes.
- Map the stitches
Outlines get running stitches for borders (like logo text). Larger areas receive satin stitches for shine or fill/tatami for solid coverage. They add underlay for stability—light for silk, heavy for denim.
- Optimize for fabric and machine
Pull compensation prevents distortion on stretchy knits. Density adjusts to avoid puckering on delicates or gaps on thick materials. Stitch paths minimize jumps to reduce trims.
- Preview and refine
A stitch-out simulation shows the design in action. They tweak density, paths, or colors for perfection.
- Export and deliver
The file saves in your format (PES, JEF, etc.) and sends via email or download, often with a color chart or stitch guide. You test on scrap fabric, then stitch your final piece.
Pro Tricks for Flawless Digitized Designs
Want insider tips? Pros swear by these.
- Simplify early — Remove tiny details; bold shapes stitch cleaner.
- Match underlay to fabric — Cut-away for knits, tear-away for cotton.
- Test every file — Scrap fabric reveals issues before the real deal.
- Scale smart — Oversized designs strain machines; tiny details vanish.
- Use quality threads — Cheap ones break and fade fast.
- Clean paths — Efficient needle movement speeds stitching and reduces trims.
Common Pitfalls and How to Avoid Them
Even pros hit snags—here’s how to dodge them.
- Low-res images → Always use 300 DPI or higher for crisp stitches.
- Skipping tests → This wastes fabric and time.
- Wrong format → Confirm PES vs. JEF vs. HUS with your machine.
- Rushing digitizing → Sloppy tracing = jagged, uneven stitches.
- Ignoring fabric → A towel file puckers on silk without tweaks.
Communicate clearly with your digitizer—share fabric, hoop, and machine details upfront. Check their portfolio on platforms like Etsy or Fiverr for custom work experience.
The Impact of Quality Digitizing
A great digitized file transforms embroidery from “nice” to “wow.” It ensures logos stay sharp on caps, portraits capture fur texture on pillows, and patterns flow smoothly on quilts. Businesses build trust with consistent, professional branding. Crafters create heartfelt gifts that last generations.
Digitizing is where art meets tech—every stitch planned, every thread purposeful. It’s the difference between a design that works and one that wows.
Stitching Your Vision into Reality
You’ve now seen behind the scenes of custom embroidery digitizing—the careful planning, precise tools, and expert tweaks that make your designs shine. Whether you’re branding a business, gifting a masterpiece, or just having fun, this process is your ticket to flawless stitches.
Find a skilled digitizer or try software yourself. Start simple, test often, and watch your ideas come to life in vibrant thread. Your embroidery machine is waiting—so grab your artwork, digitize with care, and stitch something extraordinary!